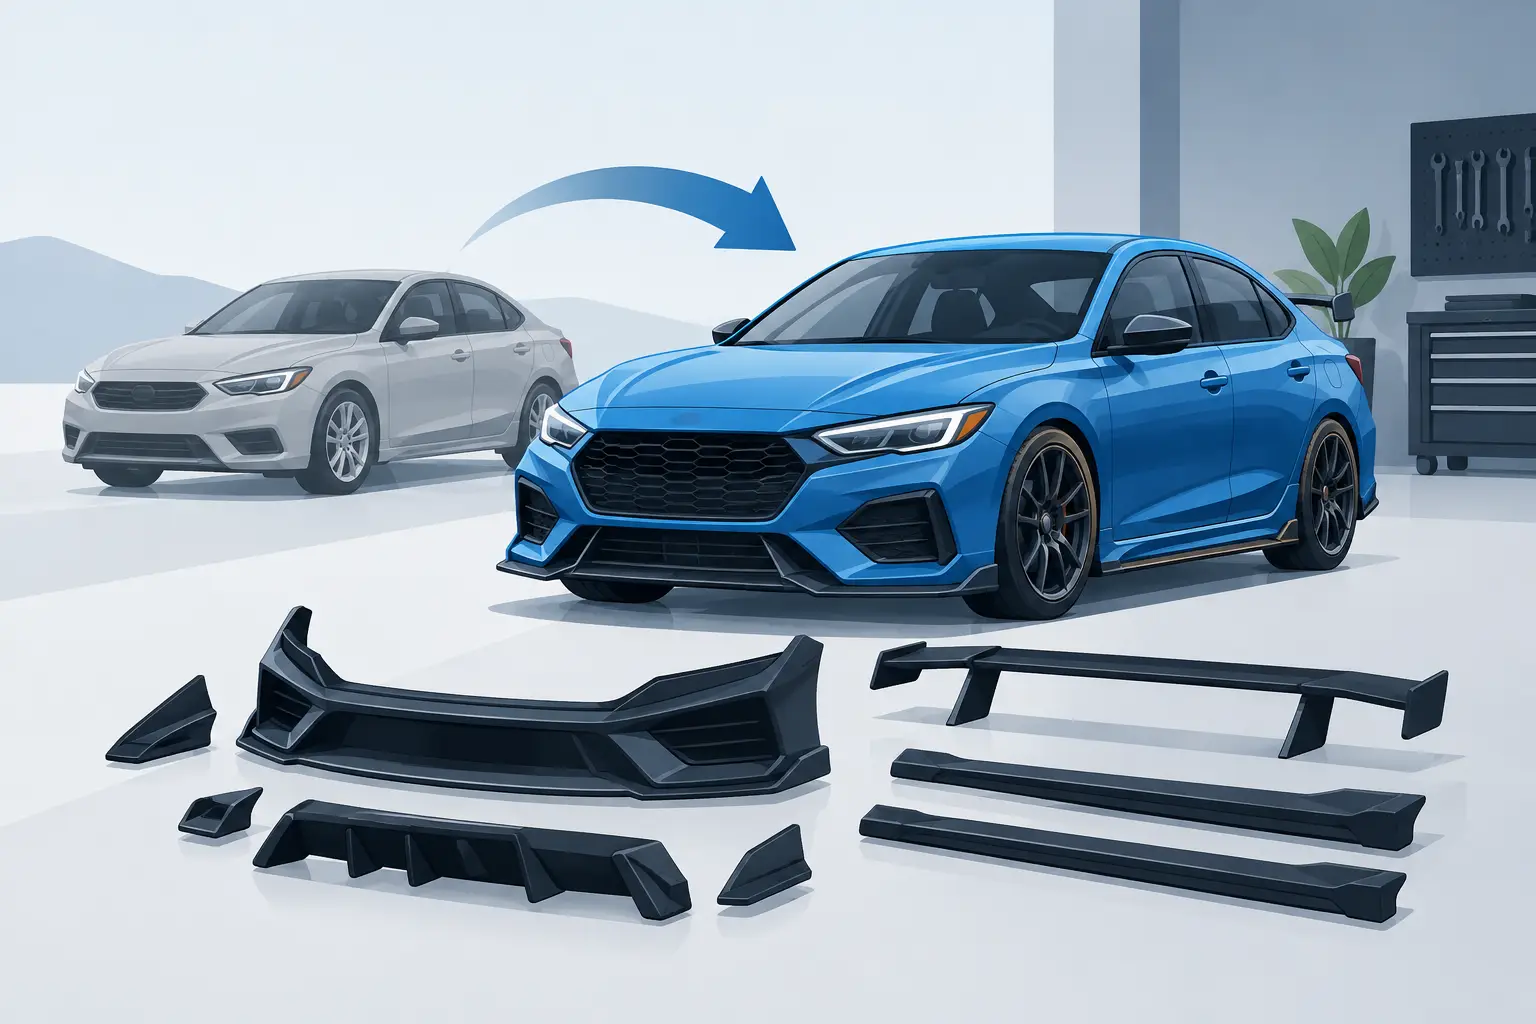
A body kit can make a familiar car feel completely new before the engine is even started. But learning how to upgrade car bodykit is not simply about choosing the most aggressive front bumper on the screen. The difference between a refined street build and a regrettable modification usually comes down to fitment, proportions, material quality, and installation discipline.
For Malaysian drivers, there is another reality to design around: steep parking ramps, uneven roads, heavy rain, stone chips, and UV exposure. The best upgrade should turn heads at a traffic light without turning every speed bump into a stressful event.
Start With the Look You Want to Build
A body kit works best when it supports the character already present in the car. A clean executive sedan may suit a subtle front lip, side skirts, and a restrained rear diffuser. A performance coupe can carry more visual drama, but it still needs balanced lines from every angle. An oversized rear wing paired with a mild front end can look disconnected, even when each part looks good on its own.
Before selecting parts, decide which direction fits your ownership style. Do you want an OEM-plus appearance that looks factory-designed, a sporty street stance, a carbon-fiber-focused performance look, or a full conversion that gives the car a more exotic identity? This choice guides every later decision, including wheel design, wrap color, and how low the vehicle can realistically sit.
Think beyond the front three-quarter photo. Look at the side profile, rear angle, and the car at normal ride height. Great styling has visual flow. The front lip should not sit so low that the side skirts suddenly look plain, and a diffuser should not overpower the rear bumper or exhaust layout.
How to Upgrade Car Bodykit With Proper Fitment
Fitment is the detail that separates premium workmanship from a rushed install. A quality kit should follow the vehicle’s original panel lines, sit evenly across both sides, and leave consistent gaps around the bumper, headlights, wheel arches, and trunk.
Never assume that a part described as “plug-and-play” requires no checking. It may be designed for direct mounting, but every car can have small variations from prior repairs, aging clips, accident history, or factory tolerances. An experienced installer test-fits panels before final fastening or bonding, then checks that sensors, cameras, lighting, grilles, and parking-assist features continue to function correctly.
Poor fitment shows up quickly. You may see uneven gaps, corners that lift, rubbing against tires, vibration at highway speed, or water collecting where it should drain away. Those issues can damage paint and make a premium-looking part feel cheap in daily use.
A good body kit upgrade respects the original car rather than fighting it. That means retaining access to tow hooks where needed, ensuring cooling openings are not blocked, and making sure the hood, doors, and trunk still open cleanly after the work is complete.
Choose Materials for Real Roads, Not Just Photos
Not all body kit materials offer the same finish, durability, weight, or repairability. The right choice depends on how you use the car and what level of upkeep you are comfortable with.
ABS plastic is a popular choice for daily-driven lips, skirts, and diffusers because it has useful flexibility and handles minor contact better than more brittle materials. Polyurethane can also tolerate impacts well, which makes it practical for cars that face ramps and busy city parking often. Fiberglass is commonly used for more complex shapes and conversions, but workmanship matters greatly because lower-grade pieces may crack or warp more easily.
Carbon fiber brings a distinctive woven finish and a lightweight, high-performance visual language. It is ideal when the design calls for exposed carbon details, but it deserves thoughtful care. Road debris can chip a leading edge, and the clear coat needs protection from strong sun exposure over time. Genuine, well-finished carbon fiber is a statement piece, not an afterthought.
There is no single “best” material. A low front lip on a daily SUV may benefit from resilience over exotic material, while a weekend sports car may justify a more striking carbon-fiber setup. The smart decision is the one that matches your route, parking situation, and driving habits.
Plan Ground Clearance Before You Commit
A body kit can make a car appear lower even without suspension changes. Once you add actual lowering springs, coilovers, larger wheels, or a deeper lip, ground clearance becomes the main practical question.
Measure the lowest point of the proposed setup and consider the places you drive every week. Apartment ramps, mall entries, fuel stations, speed bumps, and driveway transitions can all challenge a low front splitter. Rainy conditions make it harder to judge puddle depth and road imperfections, so leave yourself some margin.
This does not mean a bold build is off limits. It means the setup should be intentional. A slightly more conservative lip profile can preserve the visual effect while making the car easier to enjoy every day. In many cases, a properly chosen front lip and side skirt combination creates more presence than an extremely low bumper that constantly scrapes.
Match the Finish to the Entire Transformation
A new body kit installed on tired, faded paint can make the contrast more obvious. Treat the upgrade as part of a complete visual plan. Gloss black accents can sharpen a white or silver car. Satin finishes can give a modern, stealthier personality. A full color-change vinyl wrap opens the door to finishes that would be difficult or expensive to achieve with paint alone.
Consistency matters. If you choose exposed carbon fiber for the front lip, consider whether small carbon elements elsewhere, such as mirror caps or a rear spoiler, will create a deliberate theme. If that feels too busy, use carbon as one focal point and balance it with gloss or satin black details.
This is also the right time to protect vulnerable areas. The leading edge of a bumper, lip, side skirts, and wheel arch areas face constant abuse from stones, grime, and road debris. Paint protection film with self-healing TPU technology can help preserve painted or gloss-finished surfaces from light scratches and daily wear. It is especially worthwhile where a replacement part would be inconvenient or where a flawless finish matters most.
Insist on an Installation Process, Not a Quick Attachment
A proper body kit installation is a sequence of careful decisions. The vehicle should be inspected first, parts should be checked and test-fitted, and mounting points should be prepared without damaging surrounding paint. Depending on the component, secure mechanical fasteners, purpose-built automotive tapes, or bonding methods may be used. The method should suit the part and allow for safe, stable performance at speed.
Avoid shortcuts such as forcing a panel into place, relying only on weak adhesives for a structural area, or drilling without protecting exposed edges. These can lead to loose components, corrosion concerns, rattles, and costly corrections later.
After installation, the car should be reviewed from multiple angles under good lighting. Panel gaps, symmetry, clearance, sensor operation, and finish quality all deserve a final check. This is where a detail-oriented studio earns its reputation: the transformation should look intentional up close, not only impressive from across a parking lot.
Keep Your Body Kit Looking Fresh
A body kit needs routine care, particularly if it sits low and faces daily weather. Wash the lower sections thoroughly because dirt and tar collect around lips, skirts, and diffusers. Use pH-balanced products and soft wash tools to reduce swirl marks on gloss finishes. For carbon fiber, inspect clear-coated surfaces periodically for chips or dullness, especially after highway driving.
Take speed bumps diagonally when appropriate, park with awareness around high curbs, and do not let road grime sit for weeks. These small habits protect both the visual finish and the mounting hardware behind it.
The right body kit should make you glance back at your car after parking, not worry about the next ramp. Build with purpose, choose materials that suit your life, and trust craftsmanship that respects every panel line. That is how Project Unicorn helps turn a vehicle from standard transport into a personal statement: Be Unique, Be Unicorn.