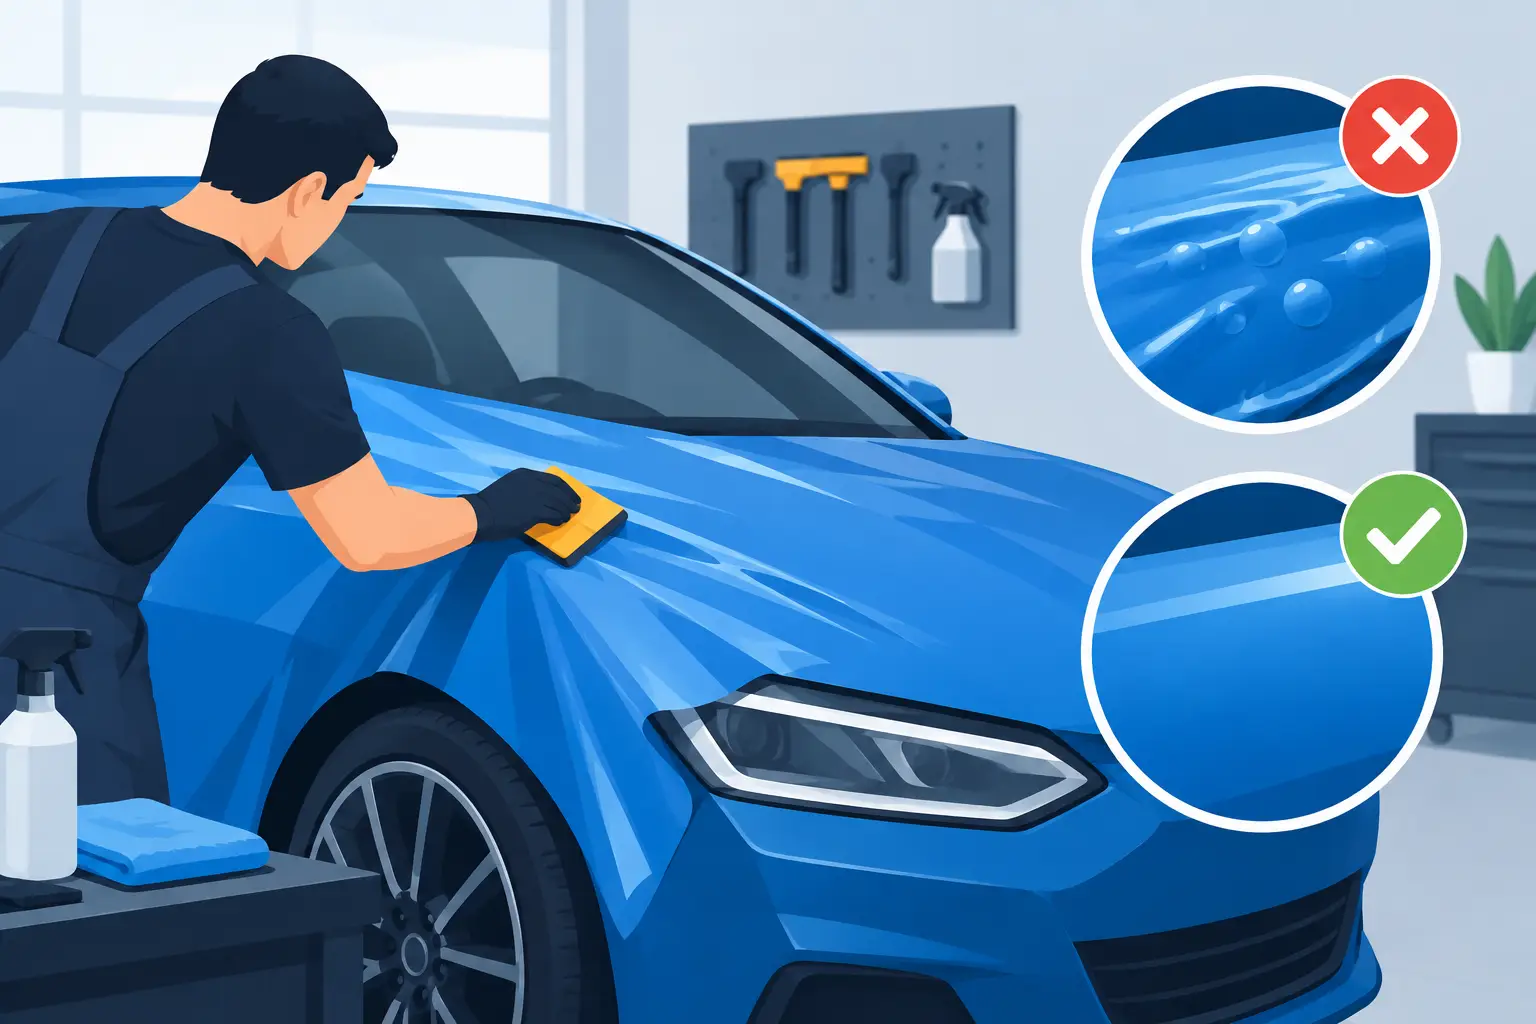
A single bubble can turn a crisp satin roof, gloss-black hood, or full color-change wrap into something that looks unfinished. To avoid bubbles after car wrapping, the real work begins long before the film touches the panel. Clean paint, stable temperatures, correct handling, and patient finishing are what separate a striking transformation from a wrap that starts looking tired far too soon.
Bubbles are not always a sign of poor material. Some are caused by trapped air during installation, while others appear later because moisture, heat, contamination, or paint condition was overlooked. Knowing the difference helps you protect both the look of your vehicle and the paint underneath it.
Why bubbles appear after a car wrap
Most visible bubbles come down to air, moisture, or debris being trapped between the film and the surface. A tiny speck of dust can create a raised point around which air gathers. On a dark gloss wrap, that small imperfection can catch the light every time you walk toward the car.
Surface contamination is another common culprit. Wax, silicone-based detailing sprays, oil, road film, and adhesive residue can interfere with the film’s bond. The panel may feel smooth to the hand yet still hold enough residue to cause lifting or bubbling later.
Heat matters too, particularly in Malaysia’s climate. A vehicle that has been sitting under direct sun arrives with panels far hotter than the surrounding air. Applying vinyl on an overheated panel can make the adhesive grab unpredictably. Applying it in an environment that is too cold can make the film stiff and difficult to conform. Neither situation gives the installer full control.
There is also a difference between vinyl wrap and paint protection film, or PPF. Color-change vinyl is generally installed with a dry application method, where air must be managed carefully through squeegee technique and film tension. PPF is commonly installed with a controlled slip solution and tack solution. With PPF, small pockets of moisture can be part of the initial curing process, but they still need to be monitored and properly worked out. Treating both materials as if they behave the same is how avoidable issues begin.
The preparation that prevents most bubble problems
A premium wrap is only as clean as the surface beneath it. Before installation, the vehicle should be thoroughly washed, chemically decontaminated where needed, and dried around trims, badges, door handles, mirrors, and panel gaps. Water hiding behind a rubber seal or inside a mirror housing does not stay hidden forever. It can migrate onto the adhesive while the film is being applied.
Paint condition deserves an honest assessment before any transformation. Deep chips, peeling clear coat, rust, and failing previous repairs are not magically fixed by wrapping over them. In fact, film may highlight an uneven surface or adhere unpredictably to compromised paint. A wrap is excellent for changing character and preserving healthy factory paint, but it is not a substitute for proper body repair.
Fresh paint requires extra caution. Even when it feels dry, paint can continue releasing solvents as it cures. This process, known as outgassing, can affect adhesion and create defects beneath the film. The correct waiting period depends on the paint system, repair scope, and workshop conditions. If a panel was recently resprayed, patience is far more valuable than rushing into a wrap.
How to avoid bubbles after car wrapping during installation
Installation should happen in a clean, controlled studio, not in an open bay where dust, wind, and changing humidity are working against the finish. The goal is not simply to make the car look good on collection day. It is to give the adhesive the best possible chance to settle evenly over every contour.
The film needs to be positioned with the right amount of tension. Stretching vinyl too aggressively may make it look smooth at first, but the material can try to recover over time. This can lead to lifting around complex curves, recessed areas, bumpers, and sharp body lines. Skilled installers know when to use heat to relax the film, when to post-heat a stretched area, and when a panel should be approached with a different layout altogether.
Squeegee pressure and direction are equally important. Air should be pushed out progressively toward an edge, not trapped in the middle by hurried strokes. On larger panels, the installer has to control the film in sections while keeping alignment true. That is why a clean one-piece hood or roof can look deceptively simple. The finish relies on disciplined technique, not just a good eye.
Edges and corners deserve special attention. They are exposed to wind, washing, heat cycles, and daily contact. Properly wrapping and sealing these zones reduces the chance that an edge lifts, allowing air and moisture to travel underneath. On high-impact areas, protection film may be the better choice if stone chips and road debris are the main concern rather than a color change.
Do not judge the wrap too early
A newly wrapped vehicle needs time to settle. During the first few days, the adhesive is still building its bond and the film is adapting to the panel. Avoid pressure washing, aggressive hand washing, waxing, or picking at edges. If your vehicle is fitted with PPF, small moisture marks or haziness may sometimes be visible during the curing window, especially in humid conditions. A professional installer should explain what is normal for the specific film used and what deserves a closer inspection.
Sun exposure is a more nuanced issue. Moderate warmth can assist curing, but leaving a freshly wrapped car under punishing afternoon heat for hours is not the same as controlled curing. If possible, park under cover during the first few days. This is especially sensible for vehicles that live outdoors in Petaling Jaya, Ara Damansara, or anywhere in the Klang Valley where sun, rain, and humidity can all arrive in the same afternoon.
If you notice a tiny bubble shortly after installation, resist the urge to puncture it yourself. A pinhole may introduce moisture and dirt, damage the film’s top layer, or leave a permanent mark. Some very small air pockets can settle as the adhesive cures, depending on the material and location. Larger bubbles, spreading bubbles, edge lifting, or anything that appears after the initial cure period should be assessed by the installer promptly.
Care habits that keep the finish smooth
Good aftercare is less about buying a shelf full of products and more about avoiding harsh habits. Wash the vehicle regularly to remove traffic film, bird droppings, tree sap, and mineral-rich rainwater. These contaminants can stain or dull a wrap if they are allowed to bake onto the surface.
Use pH-balanced wash products and clean microfiber towels. Keep a pressure washer at a sensible distance, and do not aim a high-pressure stream directly at film edges, badges, seams, or vulnerable corners. Automatic brush washes are best avoided because their brushes can mar vinyl and catch an edge that was otherwise perfectly secure.
Avoid parking under dripping trees whenever possible, and remove fuel spills quickly. Matte and satin finishes need particular care: abrasive polishing can create glossy patches that cannot be blended away. Gloss films are more forgiving visually, but they still benefit from gentle washing and safe drying techniques.
When bubbles are a warning sign
Not every bubble has the same cause. A small isolated air bubble near the center of a panel may be a finishing issue. Repeated bubbling along an edge can point to poor surface preparation, trapped moisture, insufficient post-heating, or excessive tension. Bubbling over a repaired panel may signal unstable paint beneath the film.
The pattern matters. If an issue appears immediately, it is often tied to installation conditions. If it develops weeks later, investigate exposure, paint quality, water intrusion, and edge adhesion. A reputable studio will inspect the vehicle rather than offering a one-size-fits-all answer, because the right remedy depends on the film, panel shape, and root cause.
Your vehicle deserves more than a color change that looks good from five feet away. Whether you choose a refined metallic vinyl, a stealthy matte finish, or protective TPU film, the details beneath the surface define the result. Trust careful preparation, give the material time to cure, and let every clean panel carry the confidence of a true Project Unicorn transformation: Be Unique, Be Unicorn.