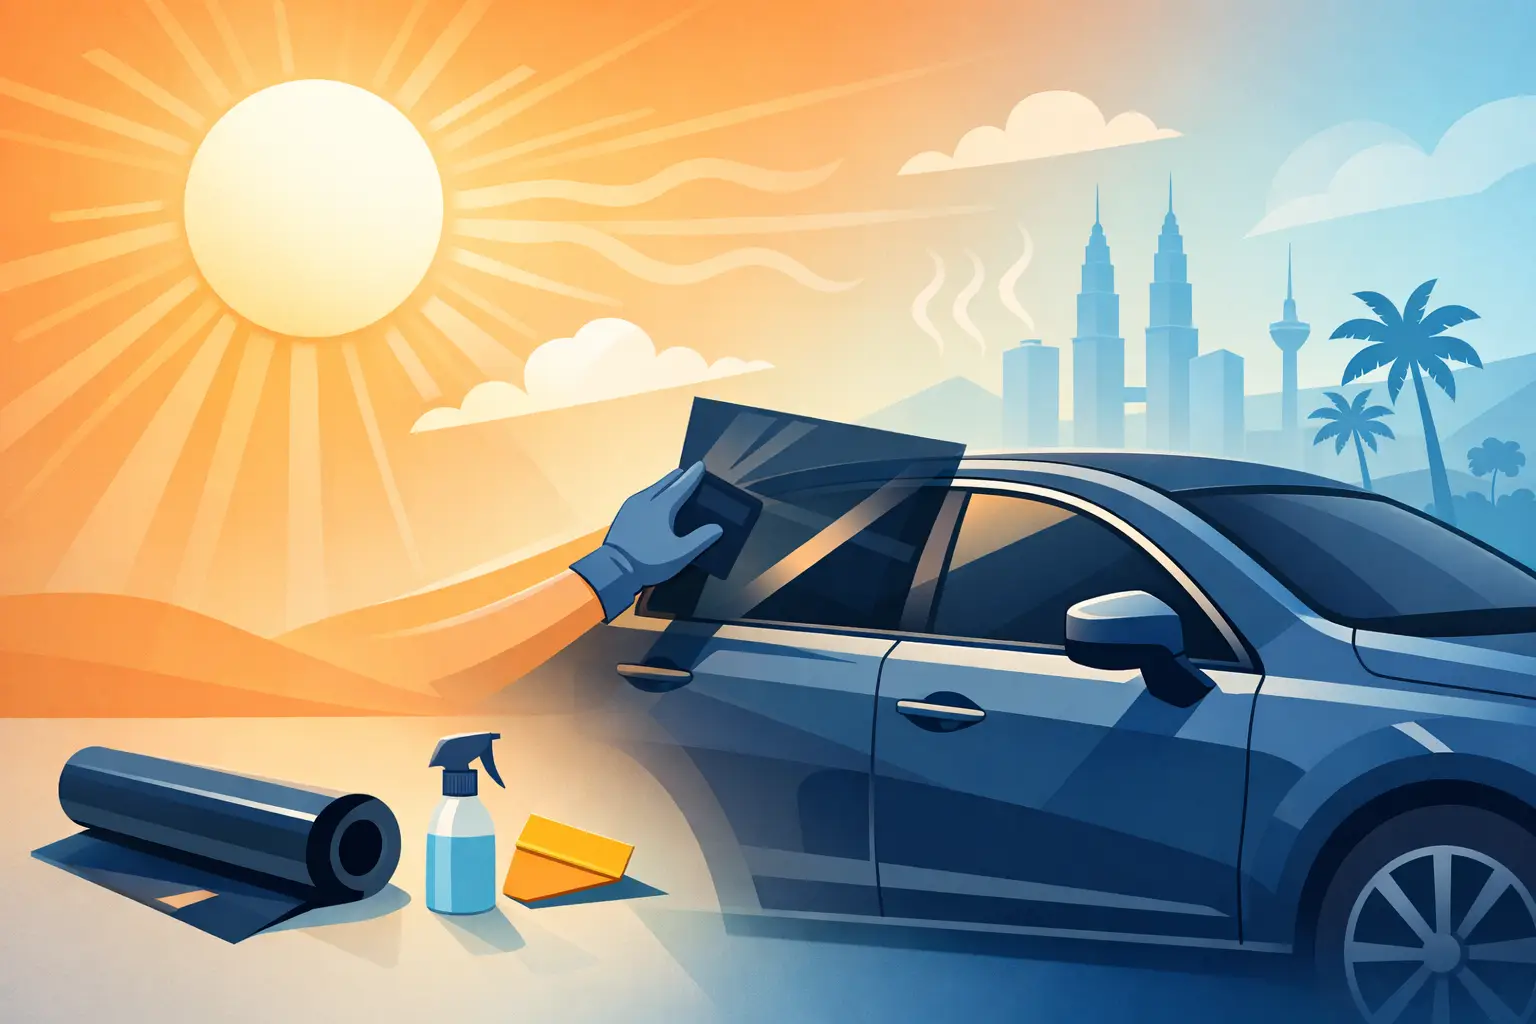
A parked car in the Klang Valley can feel like an oven before lunchtime. If you are researching how to tint car windows, the real goal is not simply making the glass darker. It is choosing a film that keeps the cabin more comfortable, protects the interior from harsh UV exposure, preserves clear visibility, and suits the way you drive.
A great tint should look almost effortless from the outside while working hard from the inside. The difference comes down to film technology, legal visibility requirements, glass preparation, and the precision of the installation. Here is what a premium window-tinting process should look like.
How to Tint Car Windows the Right Way
Window tinting begins with an honest assessment of the vehicle and the driver’s priorities. Some owners want maximum cabin comfort for daily traffic. Others want more privacy, a darker visual profile, or a clean match for a satin wrap, gloss paint, or a full protection package. The right recommendation depends on all of those factors.
The first decision is film type. Dyed films can create a darker appearance, but they are not the strongest choice for heat performance or long-term color stability. Metallic films can reject heat effectively, although some may interfere with signal reception. For a modern premium result, sputter and nano ceramic films are often the smarter direction.
Nano ceramic tint uses non-metallic ceramic particles to manage infrared heat and UV exposure without relying on a heavy dark shade. That matters when you want a brighter cabin view and a more refined exterior look, but still need meaningful heat rejection. Sputter film is another high-performance option, using carefully layered materials to reflect solar energy and improve cabin comfort.
Do not judge a tint only by how dark it looks. A light-looking premium ceramic film may outperform a much darker budget film when the car is sitting under direct Malaysian sun.
Choose performance before darkness
The two terms most drivers should understand are visible light transmission and heat rejection. Visible light transmission, often shortened to VLT, refers to how much visible light passes through the glass and film. A lower VLT means a darker appearance. Heat rejection describes how effectively the film helps reduce solar heat entering the cabin.
Darkness can add privacy, but it is not a direct measure of heat control. A very dark film may still leave the cabin uncomfortably warm if the technology behind it is basic. Conversely, a carefully selected nano ceramic film can provide a clean, lighter finish with impressive thermal performance.
Think about where and when you drive. A daily SUV with children in the rear seats may benefit from stronger heat and privacy performance at the back. A driver who frequently travels at night may prefer a more balanced front-side selection to retain confidence in rain, parking structures, and poorly lit roads. There is no single best shade for every car.
Confirm the legal limits before choosing film
A premium tint installation should never treat compliance as an afterthought. Window-film rules can differ by glass area and may change over time, so confirm the current requirements before committing to a shade. This is especially relevant if your vehicle already has factory-tinted glass, because the factory glass and added film work together to determine the final VLT.
A professional installer should measure the existing glass rather than guessing. This helps prevent a finish that looks excellent in the studio but creates unwanted issues on the road. The best tint is one you can enjoy every day with peace of mind.
The Professional Window Tint Installation Process
Tint film is only as good as the surface beneath it. Even high-end ceramic film can look disappointing if dust, adhesive residue, or poor trimming is left behind. Professional preparation is where a studio-level result separates itself from a rushed job.
First, the glass is inspected for scratches, old film residue, chips, and imperfections. Existing tint must be removed carefully, especially around rear defroster lines, where aggressive scraping can cause permanent damage. The glass is then thoroughly cleaned with the correct solution to remove oils, dust, and contaminants.
The installer cuts and heat-shapes the film to fit the curvature of each window. Rear windshields often require the most skill because they are curved and may include defroster elements. The film is positioned using a slip solution, then squeegeed methodically to push out moisture and air while securing the adhesive to the glass.
Clean working conditions matter. A tint bay should minimize airborne dust, and the technician should work with patience around window seals, sensors, and trim. Tiny contamination specks can occasionally occur in any film installation, but they should be minimal and never distract from the overall finish.
What proper edges and fitment look like
Inspect the tint from both inside and outside the vehicle. The film should follow the glass shape cleanly, with neat, consistent edges. It should not overlap rubber seals unnecessarily, lift at corners, or leave obvious gaps along the borders.
On roll-down windows, a small visible edge may be necessary depending on the vehicle design and installation method. What matters is that it is straight, discreet, and does not affect the window operation. Around rear defroster lines and antenna areas, the film should remain smooth without damage to the vehicle’s original components.
A quality studio will also explain the curing period. Freshly installed film can look hazy or show small water pockets while moisture evaporates. This is normal. Depending on weather, film type, and glass thickness, curing can take days or longer. Do not lower the windows until your installer confirms it is safe to do so.
Aftercare That Protects Your Tint
The first few days are about patience. Avoid rolling down tinted windows during the recommended curing period, and do not press on edges or attempt to push out moisture pockets yourself. Let the adhesive settle naturally.
Once cured, use a soft microfiber towel and an ammonia-free glass cleaner. Avoid abrasive pads, harsh chemicals, and sharp tools near the film. If a sticker, suction mount, or child shade needs to be removed, do it gently. Pulling aggressively can damage the film or lift an edge.
Tint also works best as part of a broader ownership plan. While it helps reduce UV exposure and heat inside the cabin, exterior protection such as paint protection film can help defend the paintwork from road debris, minor scuffs, and daily wear. The result is a vehicle that feels cooler inside and stays more composed outside.
When DIY Tinting Makes Sense – and When It Does Not
DIY tint kits can be tempting for a project car or a low-stakes experiment. They may suit someone comfortable with trimming film, heat shrinking, cleaning glass without contamination, and accepting a learning curve. But modern vehicles are not simple rectangles of glass. Curved rear screens, frameless doors, tight seals, cameras, antennas, and defroster lines raise the difficulty quickly.
The cost of a poor installation is more than visual. Improperly applied film can bubble, peel, distort night visibility, trap contaminants, or leave difficult adhesive behind when it is time to remove it. If you have invested in a well-kept daily driver, a luxury sedan, an SUV, or a performance car, professional installation is usually the better value over time.
At Project Unicorn, tinting is approached as part of the car’s overall design and protection story. The film should complement the paint, wrap, interior, and personality of the vehicle – not look like an afterthought.
Your car does not need the darkest possible windows to make a statement. Choose film that suits your driving habits, respect the applicable rules, and demand the kind of clean finish that still looks intentional years later. Be unique, be Unicorn.